 Travel Tips
What to Bring on a Backpacking Trip: Complete Guide
What to bring on a backpacking trip: Pack gear, clothes, food, water and safety essentials, plus documents, money and phone needs for trips abroad.

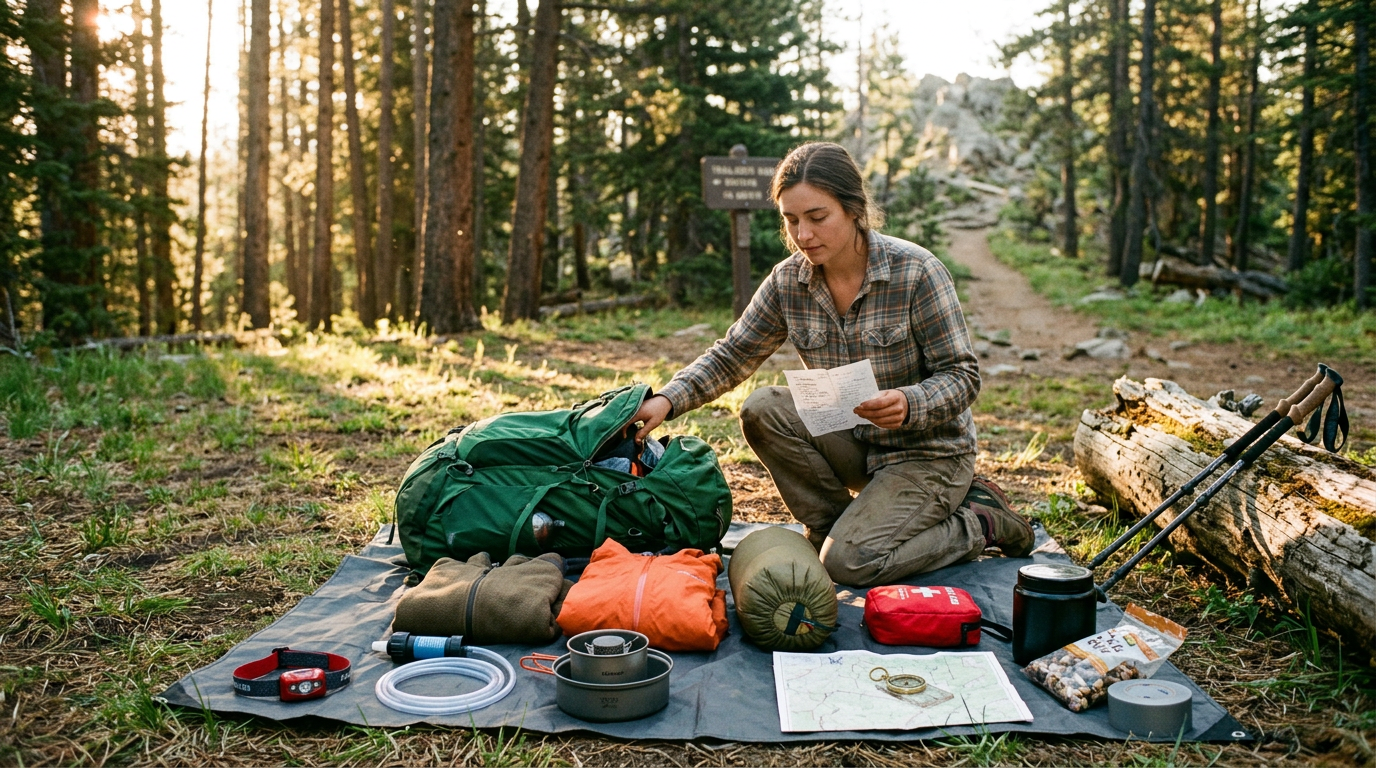
The short versionA backpacking packing list covers the gear, clothing, food, water, safety supplies, and personal travel essentials you need for a trip. Build it around the route, length, weather, and terrain, keep weight down, and pack reliable shelter, sleep gear, layers, navigation, first aid, and a plan for water and food. The right list helps you stay safe and comfortable without carrying unnecessary weight, while overseas trips also call for checking flight, customs, document, and insurance requirements.
Think about packing for a weekend at a friend’s cabin. You toss in a jacket and a charger, then realize at the door you’ve forgotten the one thing you needed. On the trail, that gap matters more, because the shop is miles behind you.
The short answer is a list that covers the trail itself: gear, clothing, food, water and safety, plus the traveller basics gear-only lists skip, like money, documents, phones, insurance and border rules.
We’ll walk through each part, and show how the list shifts for a weekend hike versus a trip abroad.
What to Bring on a Backpacking Trip
Start with the trip you’re actually taking, not someone else’s list, and keep the weight in check.
Tailor the list to your own trip
Start with trip length. A two-night loop needs less food than a ten-day route. Weather and terrain matter too: a cold, wet range calls for a warmer sleeping bag and a waterproof shell.
Treat any checklist as a starting point, and use gear you already own before buying anything new.
What is the 20% rule for backpacking?
The 20% rule sets your pack-weight target as a share of body weight, not a fixed number of kilos. Ask what percent of your own weight you’re hauling.
A study of pack weight and endurance in long-distance hikers cites a higher benchmark: most backpacking experts have lived by the rule of thumb of 30%, or one third, of the hiker’s body weight (Ray, 2009).
Three habits help you hit it:
- Bring less than you think. Lay everything out, then cut anything you’d only carry as a backup.
- Avoid oversized packs. Carrying only what you need and skipping an oversized pack helps keep weight down, as research on long-distance hikers notes.
- Splurge on the big four. Your pack, shelter, sleeping bag and sleeping pad are where a lighter version saves the most weight.
Deciding what to buy versus rent
Gear can be expensive, especially for items you’ll use once or twice a year. Consider a hiker who needs a warm sleeping bag for one winter trip.
Renting it can beat buying one that sits unused all year, so check what you can rent or buy at your destination.
Buy the pack you’ll use every season, but rent the sleeping bag you’ll use once.
Your Pack, Shelter and Sleep Gear
Your pack, tent and sleep gear are the heaviest things you’ll carry, so get them right first. Here’s what we’d look for in each piece.
Picking a backpack that actually fits
Pack size is measured in liters, so match the volume to your trip length. An oversized pack just gets filled with clothes you never wear.
Fit matters more than size. Most of the weight should rest on your hips, so try the pack on loaded and adjust the straps until it feels steady. Aim for fit rather than size alone.
A rain cover or liner keeps contents dry, and packing your tent inside keeps the weight close to your back.
Poor fit can cause backpack syndrome, a set of aches in the shoulders, neck and back caused by a pack hanging off your shoulders. If your shoulders ache early on, fix the fit first.
A light tent and a good campsite
Choose a lightweight 3-season tent, built for spring, summer and autumn. Check its livability (can you sit up and change clothes?) and its headroom, the space above you when seated.
Look for a waterproof floor and fly (the rainproof cover over the tent) so wet ground and downpours stay out.
Your campsite matters as much as the tent. Pick flat, dry ground rather than a dip where water pools. Two friends who pitched in a dip after rain woke up in a puddle.
Staying warm with the right sleeping bag
A good bag should be lightweight and compressible, but warmth matters more than weight. Pick a temperature rating that suits the coldest night you expect, not the warmest.
Fit matters too: look for a hood that cinches around your head and draft tubes, insulated strips along the zip that block cold air.
For extra warmth, add a liner, a thin fabric bag you sleep inside.
Sleep pad and pillow for insulation
A sleeping bag compresses under you, so the ground steals heat. A sleep pad fills that gap, and its R-value rates how well it resists that heat loss. A higher R-value means more insulation.
Treat bag, pad and liner as one sleep system: a warm bag on a thin pad still leaves you cold.
You don’t need a pillow. Stuff a bag with fleece or spare layers and rest your head on it.
How to pack a backpack for 7 days?
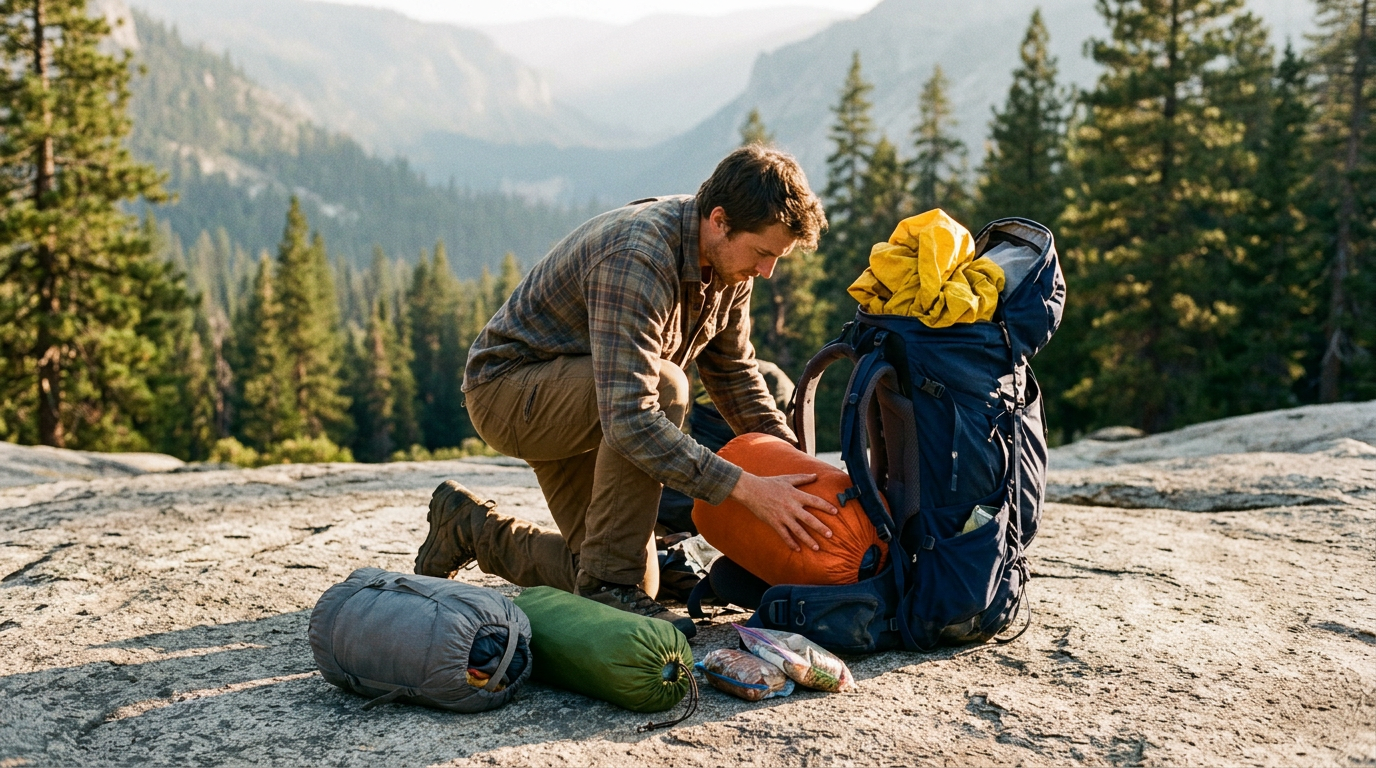
For seven days on the trail, pack for balance and quick access:
- Sleeping bag and spare clothes go at the bottom, in dry sacks.
- Tent and heavier food sit close to your back, over your hips.
- Rain gear and daytime essentials go near the top.
Use compression sacks to squeeze bulky clothes down and free up room. Keep gear dry inside the pack by sealing sleeping gear in dry sacks, and give a wet tent its own bag so damp fabric doesn’t soak your clothes.
Clothes and Footwear for the Trail
Your clothes do more work on the trail than almost anything else you pack, so choose them for the weather and the walking.
Layer quick-drying fabrics and skip cotton
Start with synthetic material or merino wool, which dries faster than cotton. Once cotton is soaked from rain or sweat, it stays cold and wet. Leave it at home.
Picture a hiker starting a morning climb in a cool valley. By midday, when the sun hits the ridge, they’ve shed a layer. That’s the layering system at work: add or remove pieces as conditions change.
Keep one set to hike in and one dry set for camp. Don’t overpack: two or three changes cover most trips.
Keeping rain and cold at bay
Pick gear for how it performs in the rain, not how it looks on the shelf. Bring:
- Waterproof jacket and pants. They keep rain off so you stay warm all afternoon.
- Puffy or fleece jacket. Warmth for camp and cold early starts.
- Base layers. Worn against the skin, they wick sweat while you hike.
- Waterproof shell treatment. Refresh the coating before you go so rain beads off.
Hiking clothes, hats and sunglasses
Think of a couple on a weekend loop in late spring. Shorts carry them through the lower trail, and warm layers wait in the pack for the high pass.
- Shirts and pants or shorts. Pick by climate: shorts for heat, pants for brush and bugs.
- Quick-dry underwear. It dries fast after a rinse.
- Hats and gloves. A brimmed hat for sun, and a warm hat and gloves for cold starts.
- Sunglasses. They cut glare off snow and open ridges.
Choosing boots, runners and socks
Picture a first-time backpacker who laces up brand-new boots at the trailhead and spends the afternoon nursing blisters. Break yours in on local hikes first.
- Boots that fit well. Try several pairs while wearing the socks you’ll hike in.
- Trail runners with gaiters. Runners suit well-marked paths. Add gaiters (fabric covers that keep grit and water out of your shoes) for mud or snow.
- Socks in wool or synthetic. Never cotton. Pack a spare pair so one can dry while you wear the other.
- Camp shoes or sandals. Let your feet breathe at day’s end.
Meals, Cooking and Water on the Trail
Food and water are where your pack gets heavy fast, so every choice here is about carrying less without running short.
A light stove and a simple pot
A small canister stove weighs little and lights fast. Carry a little more fuel than you think you’ll need, and test it at home before you leave.
Pick one single pot for boiling water and cooking your meal. Pack a spork, a small knife, and a bowl or mug, plus a firestarter backup such as waterproof matches or a ferro rod in case the stove won’t light.
Planning meals with calorie-dense food
Choose calorie-dense, lightweight foods when you plan your meals. Research on food for man-hauling in the Antarctic says rations should be light and high in calorific value, and the same logic holds on the trail.
Plan on about 1 kg of food per person per day, then adjust for your pace and route. Three habits make that easier:
- Repackage at home. Strip boxes and bulky packaging, then repack into zip bags. You carry food, not cardboard.
- Local food abroad. Buy fresh bread, cheese, and fruit at markets for the first few days instead of hauling a week’s supply from home.
- Where to eat on arrival. Eat a proper hot meal in town before the trail starts, so you aren’t living on cold trail mix on day one.
Storing food so bears can’t reach it
Keep food out of reach with three basics:
- Bear bag and rope. Stow food in a stuff sack and hang it from a branch on a rope, well away from your tent.
- Bear canister rules. Where canisters are required, the rules are set locally, so check them before you go.
- Waterproof food bag. Keep food dry through rain and river crossings.
Carrying enough water and making it safe
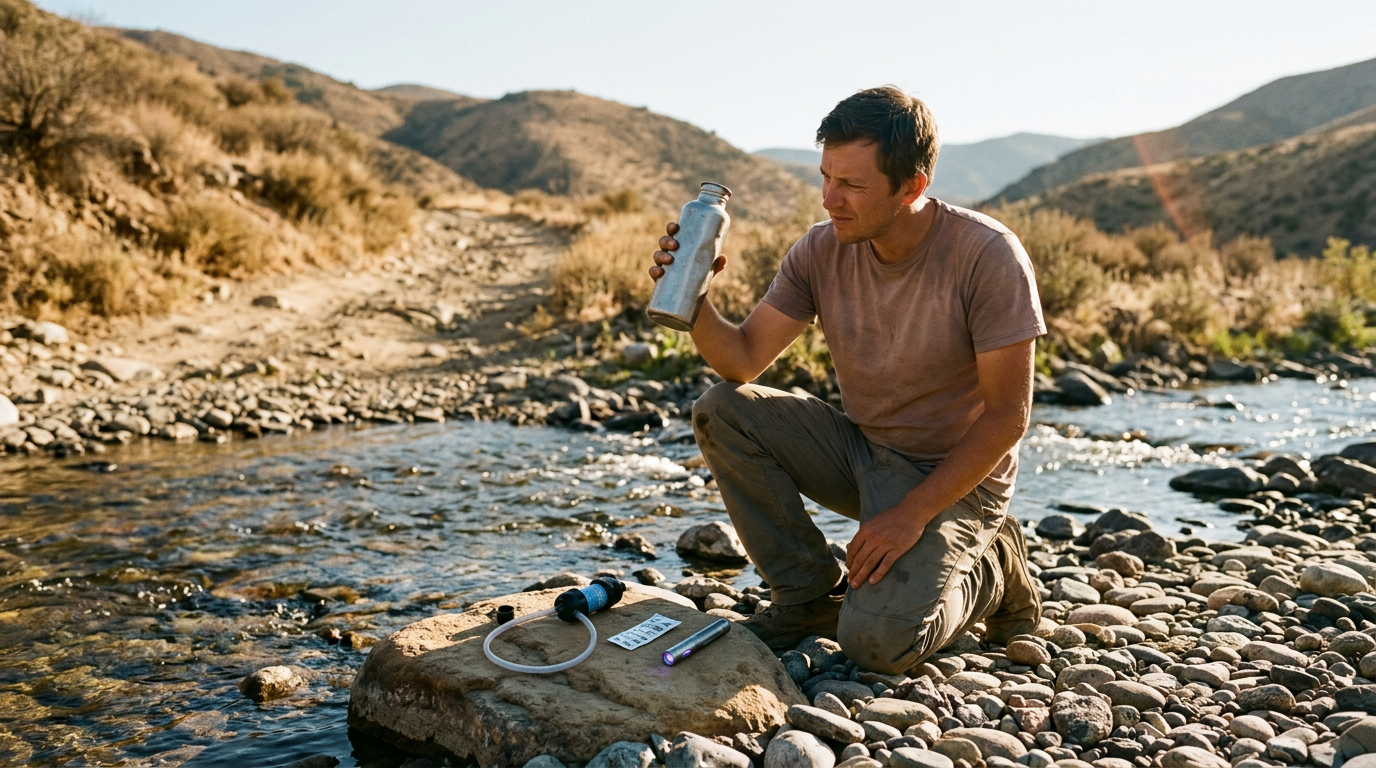
Carry at least two litres of capacity so a long dry stretch doesn’t leave you short. The question isn’t whether to treat water but which method suits your trip.
Filters, drops (chemical tablets), and UV pens (which use ultraviolet light) each treat water differently, so pick one and carry a backup.
Abroad, check whether tap and stream water is safe before you fill up. Clear doesn’t mean safe.
Washing up without polluting water sources
Keep soap and scraps out of lakes and streams.
- Biodegradable soap. Use only a small amount, and never wash straight into the water.
- Microfibre cloth. It cleans with little water and dries fast.
- Wash away from water sources. Set up well away from any stream or lake, and scatter the rinse water rather than pouring it in one spot.
Picture a couple washing up at a lakeside campsite. They wipe the pan with a microfibre cloth, use a small squeeze of biodegradable soap, then carry the basin up the slope to pour it out.
The lake stays clean for the next group, and the pot is dry by dark.
Leave the lake as you found it.
Staying Safe and Finding Your Way
Most trail trouble is manageable if you’re prepared, and the prep starts at home.
Ten Essentials and a first aid kit
Your Ten Essentials are the core kit for any trip. Consider a hiker who rolls an ankle a mile out. The kit in their pack gets them back to the car.
Add a first aid kit with blister dressings and medication, then seal it all in a dry bag so a soaked pack can’t ruin it. Check it before every trip, and make sure you can reach a bandage fast, not dig for one.
Maps, compass, GPS and a headlamp
A headlamp matters most when the day runs long, so pack spare batteries and test the light before you go. Carry a paper map and a compass, with GPS (Global Positioning System) as a second layer, since batteries run down and screens crack.
Read the trail description the night before, then check your watch against the time you’ve got left at each junction. Turn around early.
Consider a couple who lose the trail in fog. The map and compass get them back on course, and the headlamp covers the walk out after dark.
Calling for help and leaving a plan
Getting help fast takes a signal, a plan someone holds, and proof of who you are.
- Whistle and phone. Keep the whistle on your pack strap, and treat your phone as a backup, not your only plan.
- Satellite messenger. A satellite messenger can send messages and emergency alerts where there’s no cell coverage.
- Trip plan. Leave your route, dates and expected check-in time with someone at home, before you set out.
- Wallet and identification. Keep your wallet and ID on your person, not in the pack, in case you get separated from it.
Bear spray, repair tools and permits
If your route runs through bear country, carry bear spray on a hip belt or chest strap, where you can grab it fast. A repair kit and multi-tool fix small failures, like a split pack strap, on the spot.
Find out whether your route needs a permit or a reservation, and sort it out at home, not at the trailhead. The trailhead is too late to learn the rule.
Staying Clean on the Trail
A few small items keep you healthy, comfortable, and welcome at camp.
Protecting your skin from sun and bugs
Sun and insects can ruin a hike fast. Apply sunscreen before you start walking, not after the first sting, and reapply through the day. Pack these:
- Sunscreen and SPF lip balm: SPF (sun protection factor) matters for lips too.
- Bug spray or a head net: for the hours when insects are out.
Consider a hiker who forgets the head net and spends the evening swatting at the tent door. A small mesh hood would have saved the night.
Everyday care items to pack
Picture a couple on their first overnight hauling a full-size shampoo bottle. A travel-size one does the same job for less weight. Small and simple wins.
- Toothbrush and toothpaste: a short brush and a small tube are plenty.
- Deodorant (optional): skip it, or pack a small stick if you want one.
- Menstrual supplies: pack enough for the whole trip plus spare days, and plan how used products leave the trail.
- Personal wash kit: a small soap and cloth, used well away from water.
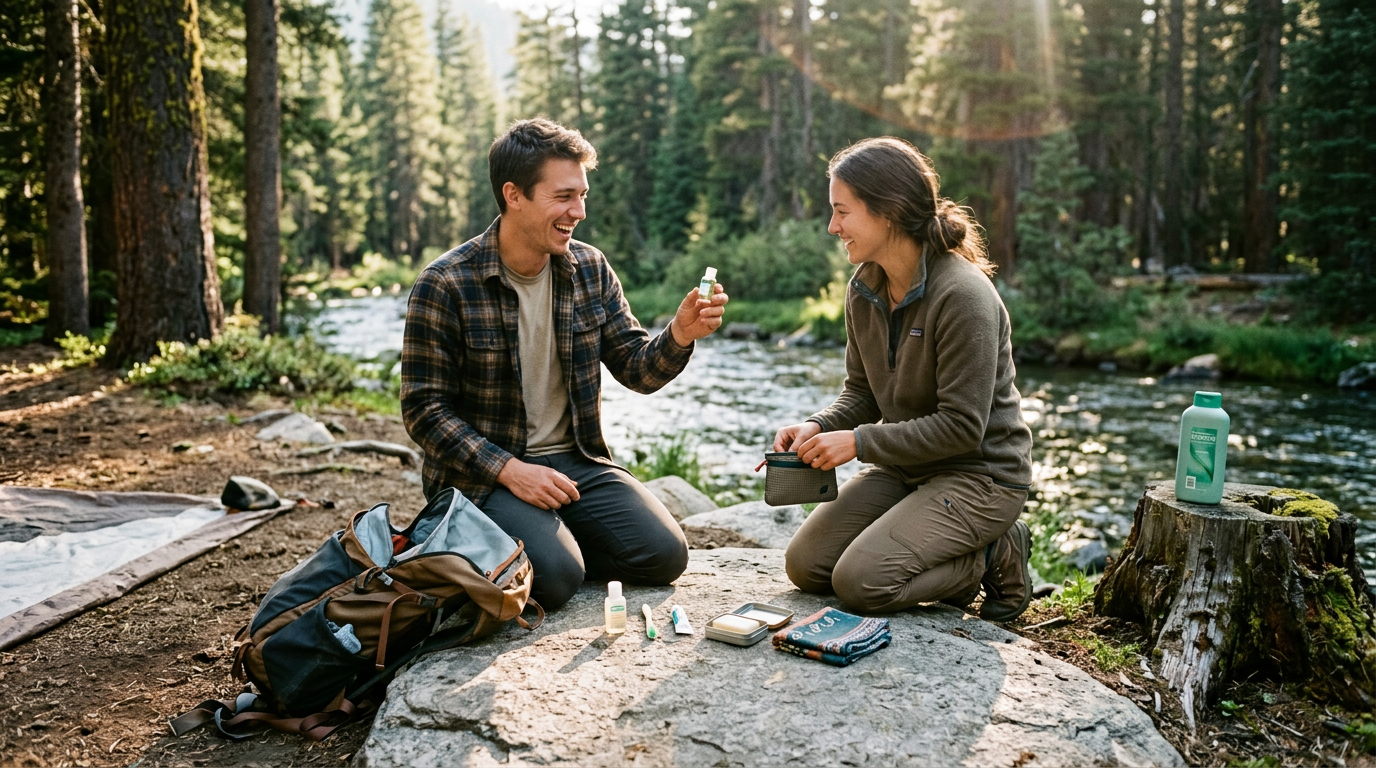
Taking care of waste on the trail
Waste is where your habits reach the next group. Out of sight isn’t enough: keep it away from trails, camps, and water.
- Trowel: for digging a small hole for solid waste.
- Toilet paper and bag: carry used paper out in a sealed bag.
- Hand sanitizer: a backup when water is scarce.
- Leave No Trace: outdoor ethics for keeping wild places wild, built around packing out what you pack in.
A solo hiker at a busy riverside site, for example, seals used paper in a bag and carries it out, so the next camper finds the ground clean.
Nice-to-have Extras for Comfort
These extras aren’t required, but they can turn a rough campsite into a comfortable one.
Poles, a camp seat and a tarp
Trekking poles take weight off your knees on steep descents. Picture a hiker on a three-day loop with a heavy pack: by day two, the downhill stretches hurt far less.
A camp chair or butt pad gives you a seat that isn’t the damp ground.
A tarp for the cooking area keeps the stove and cook dry when the weather turns.
Camp shoes are light, easy to slip on, and let your boots dry out. Your feet will thank you.
Each of these buys you rest, not luxury, so start with your biggest sore spot.
Gadgets and ways to pass downtime
A power bank keeps your phone and headlamp charged when there’s no outlet. Pack the cables with it.
Camera gear is worth it only if photos matter to you. A spare memory card keeps the best shots safe.
A paperback works too, but an eReader holds a whole shelf in one light device. Rainy afternoons suddenly feel shorter.
Candles give off a soft glow after dark, but check the campground rules first, since some sites ban open flames.
Little extras that make life easier
Ear plugs block out a snoring tentmate or a noisy campsite. Consider a couple in a two-person tent: a pair each means a better night for both.
A microfibre towel dries fast and packs small, unlike a bulky cotton one.
Pack a swimsuit if your route passes a lake, river or hot spring.
Hygiene wipes cover the days without a shower.
Stuff sacks keep each category together, so you can find the warm layer in the dark.
Things to Know When Backpacking Abroad
Is $20,000 enough to travel the world? It depends on how long you’re gone and where you go, so estimate a daily spend for each stop and add a buffer.
Gear to add for overseas trips
A few extras make more sense overseas:
- Electrical adapter. Plugs differ between countries, so get one that fits each stop.
- Town clothes change. Clean, non-trail clothes make cafés and nights out easier.
- Flip flops. Handy for hostel showers and beaches, and they take up little room.
- Rent or buy locally. Bulky items like sleeping bags and stoves are easy to rent at your destination.
Think of a traveller flying in for a trek. Renting her sleeping bag and stove at the trailhead keeps her flight bag light.
Flight rules for gear, fuel and batteries
Airlines are strict about anything that can burn, leak or spark:
- Stoves must be fuel-free. Buy fuel after you land.
- No bear spray or fuel. Leave both at home.
- Sharp items go in your checked bag. Keep them out of your carry-on.
- Baggage size and weight limits. Each airline sets its own, so check every flight.
- Lithium battery restrictions. Spare batteries and power banks have their own limits.
Check your carry-on and checked bags separately, since the rules differ.
Clearing customs with food, meds and gear
Borders check what you carry in:
- Declare food items. It’s easier to declare a snack than to explain one you hid.
- Medication in original containers. Keep each one in its labeled packaging.
- Clean boots and tents. Brush off dirt and plant matter before you fly.
- Country-specific import rules. Check the official rules for each country on your route.
Organizing your bags and travel tech
Wrap your backpack in a duffel for flights to protect the straps. Ask your hotel about luggage storage for day trips, and pack a small daypack for town.
Packing cubes and organizers keep clothes sorted, so a clean shirt is easy to find in a dorm.
Your phone is your guidebook and map, so set it up early. Get an embedded SIM (eSIM), a digital SIM you activate without a physical card, and download offline maps.
Money, cards and backup cash. Carry two cards from different banks and some cash apart from your wallet. Two cards beat one.
Check that your travel insurance covers medical care, and keep passport copies on your phone.
A good packing list isn’t about carrying more. It’s about carrying the right things, so the trail feels manageable and the trip doesn’t stall over a forgotten charger or a missing document.
Run through the trail essentials and the traveller checks, and build your list around the trip you’re actually planning.
Pack with purpose, and the trail will give you room to enjoy every mile.
References
- Effects of Pack Weight on Endurance of Long-distance Hikers — commons.erau.edu (2013)
- Food for man-hauling and other extreme physical activities in the Antarctic — hdl.handle.net (2018)
Questions
What is essential for backpacking?
Essential backpacking gear includes a properly fitted pack, shelter, sleeping bag and pad, weather-appropriate clothing, food, water and a way to treat water. Bring navigation tools, a headlamp, first-aid supplies, communication and safety items, and any required permits; tailor the rest to your route, weather and trip length.
What is the 20% rule for backpacking?
The 20% rule is a pack-weight guideline: aim to carry no more than about 20% of your body weight. It is a target rather than a guarantee of comfort or safety, and the right load depends on your fitness, terrain and trip conditions.
What is backpack syndrome?
Backpack syndrome refers to aches in the shoulders, neck and back caused by a pack that hangs too heavily from the shoulders instead of fitting and resting properly on the hips. Adjust the pack and straps, and get the fit checked if discomfort starts early.
What is the 3-3-3 rule for travel?
The 3-3-3 rule is a flexible travel-packing method: choose three tops, three bottoms and three pairs of shoes that coordinate with one another. The exact version can vary, so adapt the counts to your destination, activities and trip length.
What type of food to bring backpacking?
Bring lightweight, calorie-dense foods such as dried meals, nuts, trail mix, bars and other foods that provide plenty of energy without bulky packaging. Plan roughly 1 kg of food per person per day as a starting point, then adjust for your pace, route and access to resupply.
How to pack a backpack for 7 days?
For a seven-day hike, put your sleeping bag and spare clothes at the bottom in dry sacks, place heavier items such as food and your tent close to your back over your hips, and keep rain gear and daytime essentials near the top. Use compression sacks for bulky items, protect sleeping gear from water, and pack enough food and fuel for your route and resupply options.
Is 27 too old to go backpacking?
No. At 27, you are not too old to go backpacking; people take up hiking and backpacking at many different ages. Choose a route and pack weight that suit your fitness and experience, and build up gradually if you are new to it.
Is $20,000 enough to travel the world?
It can be, but $20,000 may cover very different trips depending on how long you travel, which countries you visit and how you spend. Estimate daily costs for each stop, including transport, lodging, food, insurance and activities, and keep a buffer for unexpected expenses.
Sources
- Effects of Pack Weight on Endurance of Long-distance Hikers, commons.erau.edu,
- Food for man-hauling and other extreme physical activities in the Antarctic, hdl.handle.net,